Preparing to Lith Print Again
On Wednesday I’m going to lith print for the first time in more than a year. Tory and I are going to PCNW to have some fun! Last time I did it I just grabbed a random curve off the web, applied it to my image, and tried on some old paper I had lying around. This time I’m trying to up the likelihood of success by adding some precision to the equation.
It starts with properly determining the standard print time using a Stouffer Step Wedge for a regular old gelatin silver print. Thankfully David had four 31-step wedges to lend me which made it quite a bit easier: I could expose four in one batch to save on multiple trips through the development solution.
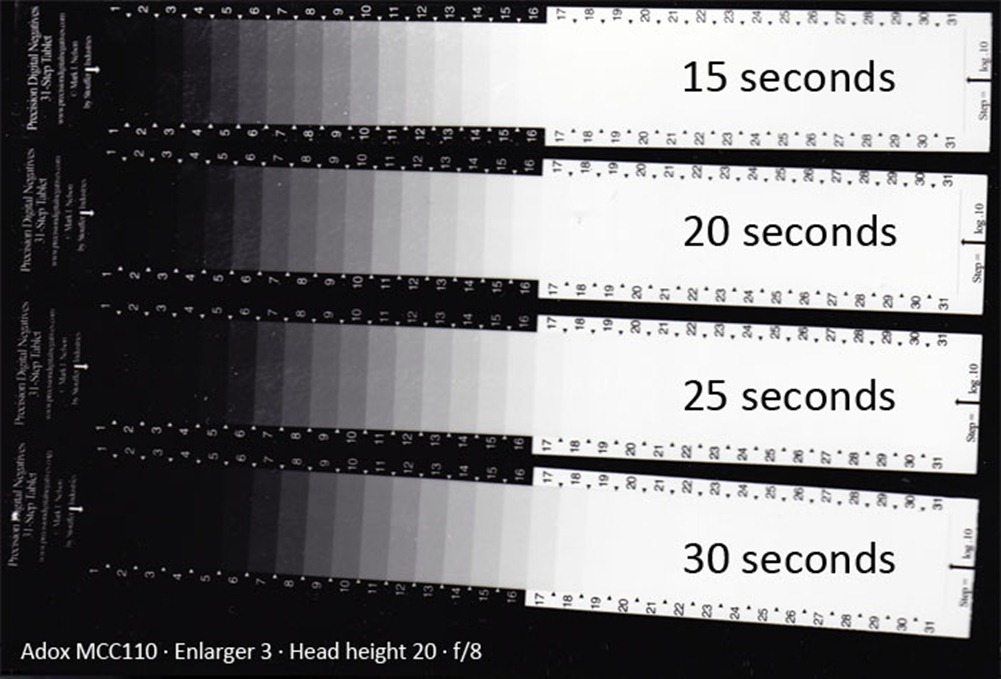
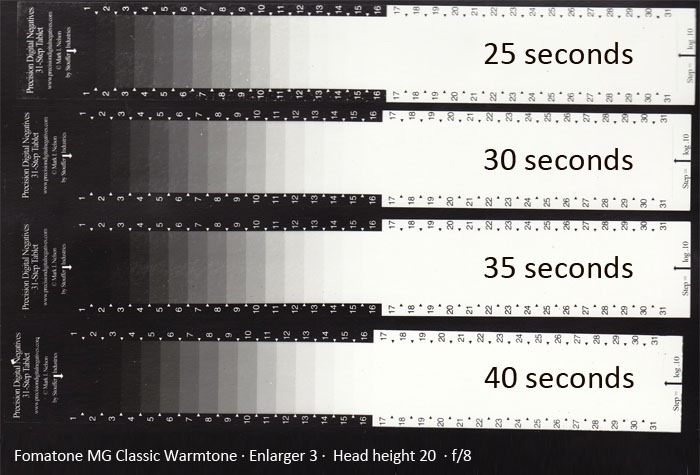
Here’s the results for the two papers I plan on using, ADOX MCC110 and Fomatone MG Classic Warm Tone:
It’s pretty much impossible to tell in the web images, but at the time I figured the winnerwinnerchickendinner numbers were 25 seconds for the Adox and 40 seconds for the Fomatone. Amazing how different papers can have such different exposure times with everything else consistent!
With those numbers set I proceeded to do test prints of a ChartThrob greyscale calibration chart. The idea here is to figure out how differently the ink from my printer blocks light when compared to a traditional negative.
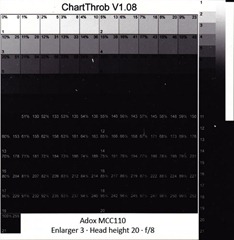
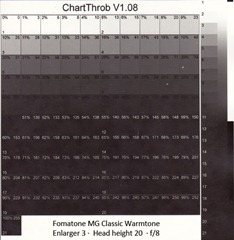
Here are scans of the resulting charts for the two papers:
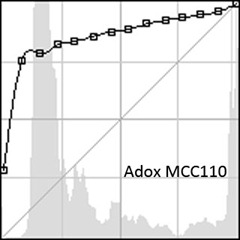
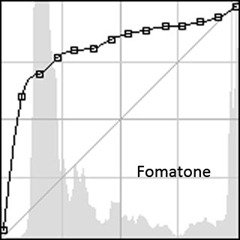
Even at the smalls size you can see these aren’t so hot. It’s expected that there will be a whole lot of black squares in the bottom rows, just not so many of them. Here’s the resulting adjustment curves, as calculated by ChartThrob:
Most of the curve looks reasonable, but the really long ramp up on the left makes me think the originals were overexposed. You can see this in the scanned charts above too: almost half the chart is pure black. Based on what I’ve read I’d expect a few rows of pure black, but not that many.
It only took 45 minutes of time in the darkroom to do these tests (and another 20 doing the final wash!) so I think I’ll go back tomorrow and try again with slightly less exposure time and see what the resulting charts look like.
One other note: I also did some HSL RNP-Array tests to try and determine what ink colour I should be using, but I have to admit I have no idea how to interpret the results!
Leave a Reply to Digital Negative Lith Print Results | Dane Creek Cancel reply