My First Cyanotypes
I went over to David’s house today to try my hand at printing cyanotypes. I’ve done lith printing many times, but it requires a proper darkroom setup (which I don’t have). David promised me that cyanotypes were easy and didn’t need a darkroom. Plus some of his samples were quite impressive.
I can report that cyanotypes are, in fact, easy. This may be due partly to the technique and also partly to David already having all the gear set up in his house to do it!
Here’s the first one I did, printed on coated Hahnemuhle Photo Rag Baryta. Yeah, it’s inkjet paper, but we coated it anyway to see how it would work.
First Beach, WA
This was the most successful of the three prints I did. The gloss is actually very nice. What you can’t see, however, is how the inkjet coating on the paper started to crack in the water. It doesn’t look bad in the image area, but it’s very noticeable around the edges. Oh well.
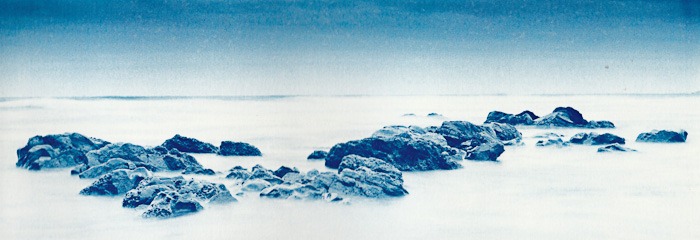
Here’s the second image, on Canson watercolour paper:

Racetrack, Death Valley National Park, CA
This worked out reasonably well too. My B&W conversions thus far have not really made the bird tracks show up well, but with how the cyanotype process handles highlights I’m really pleased with this variation. I’m not wild about how the mountains turned out though. That’s the beauty of digital negatives: I can go back and tweak the negative and try again.
Here’s the third image. It didn’t work at all:
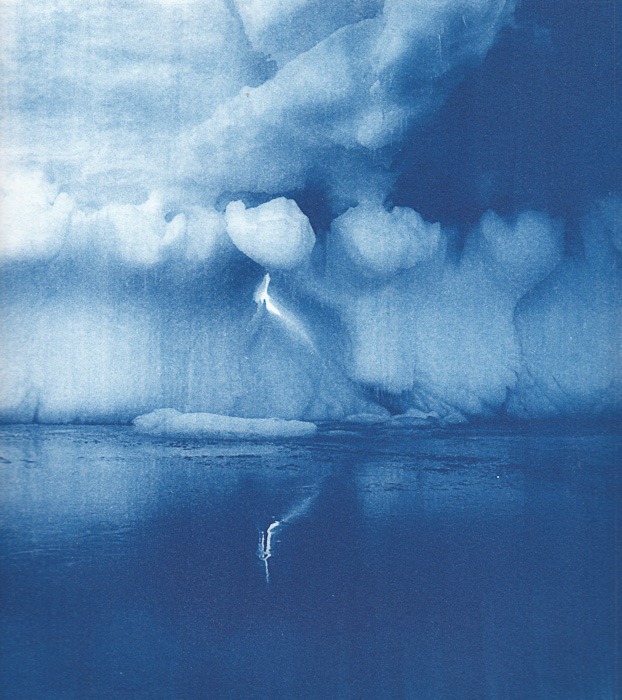
Iceberg, Antarctica
I messed up the coating on this pretty badly. That’s what caused all the stripes you see in the image. We also pushed the water too close to black and lost some of the really nice reflections of the ice. I do find it rather amusing that I went through all this work to get a blue ice photo when the original was blue to begin with!
Leave a Reply to Neil Enns Cancel reply