Digital Negative Lith Print Results
As I mentioned earlier this week I planned on lith printing today with Tory. We did. We went to PCNW with some digital negatives I printed out this morning based on the curves calculated earlier this week to see what would happen.
My expectations were pretty low. I’ve only done this once before with digital negatives and I wasn’t super impressed with the results. This time around I had different paper and different developer.
Wow.
The results far exceeded my expectations. It only took two tries to start reliably producing interesting results. I took four images to try out but only had time to do two of them. Here’s how each turned out.
Image One
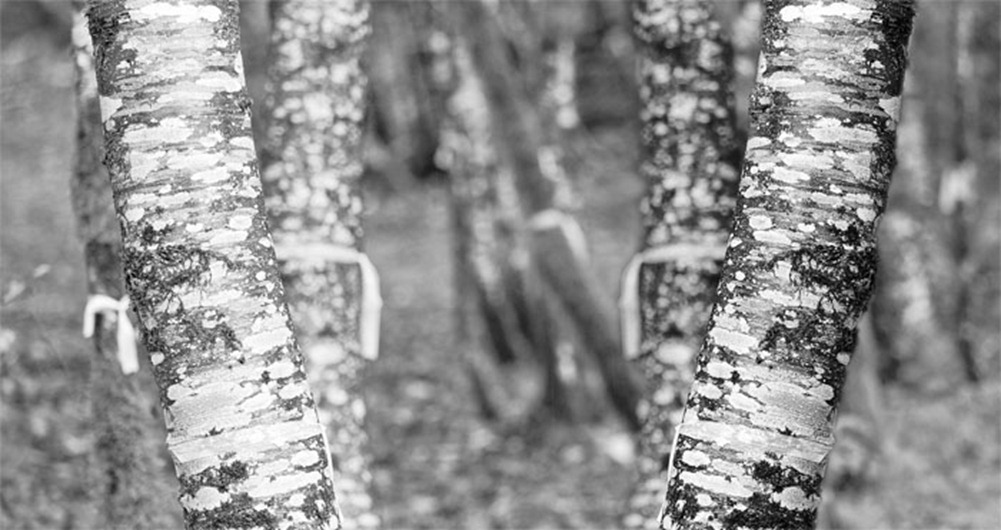
Here is the original digital image I used, prior to applying the curve adjustments for the digital negative:
I put the “digital” part of digital negative to work on this one. The original colour image was processed twice in Silver Efex Pro 2.0. One pass was to do the background of the image, and the second was deal with the two trees on the right. I then did a layer mask to blend the two versions together. Try doing that with an enlarger!
Here’s the first lith print of the above image:
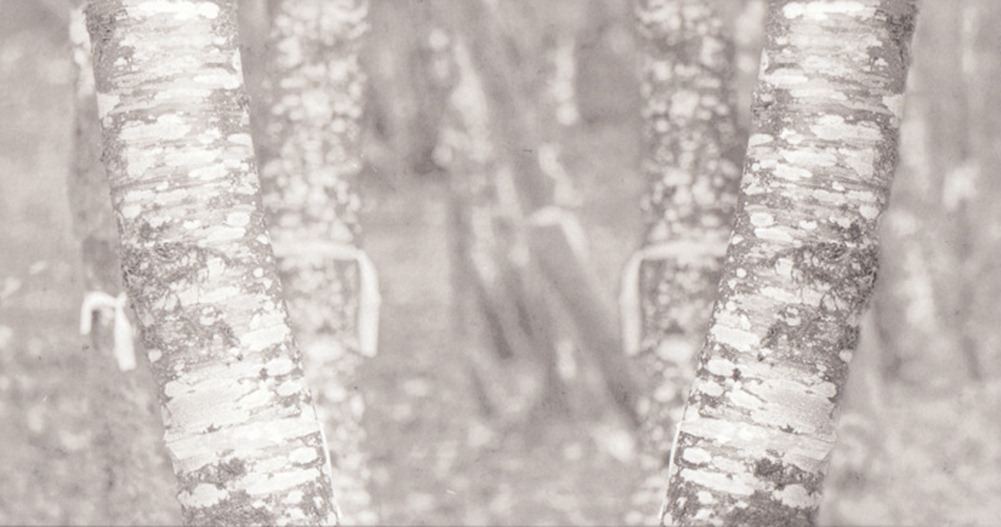
Adox MCC110 in Arista Lith. Dilution: 100/100/1800. Exposure: 100 sec. @ f/8. Development: 13:31. Print #1.
Yes, the highlights don’t have enough detail. And yes, the shadows aren’t dark enough. But it’s close. Tory and I were very excited at this point since it was proof the curves were roughly right and the whole process was right.
To fix the highlights I doubled my exposure on the next print, and to fix the shadows we added a bit more developer to the water since we really didn’t want to do 16+ minute development times. Here’s the second print:
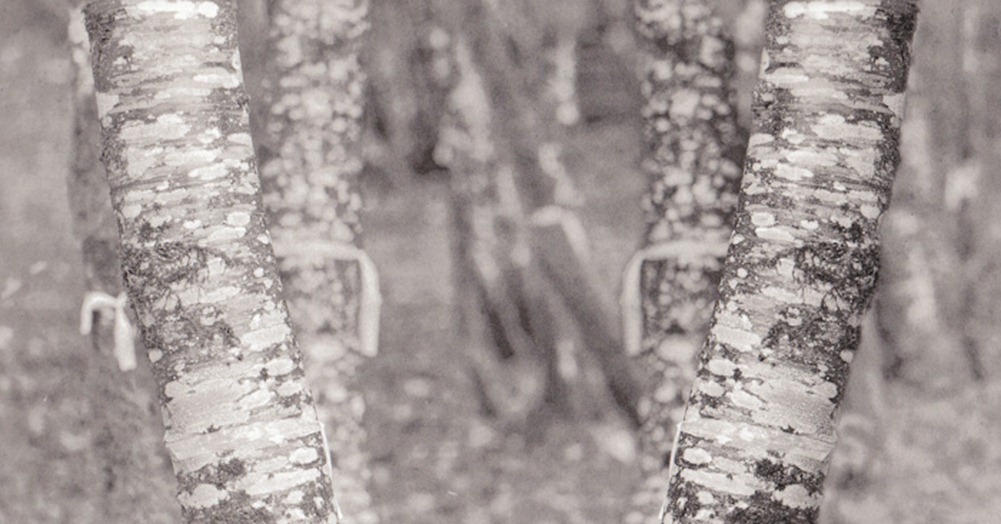
Adox MCC110 in Arista Lith. Dilution: 150/150/1800. Exposure: 200 sec. @ f/8. Development: 10:45. Print #3.
Notice how much better the highlights and shadows are! In particular, notice how much darker the shadows are even though the development time is almost 3 minutes shorter. Amazing what changing the dilution from 1:1:18 to 1.5:1.5:18 does. At this point I was incredibly happy with the photo and moved on to trying the same image with the Fomatone paper.
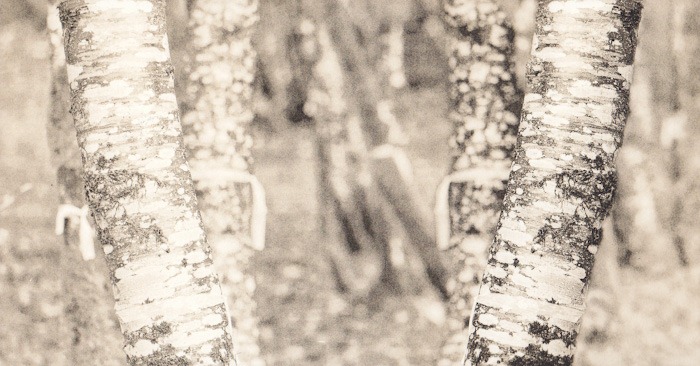
Fomatone VC Warmtone in Arista Lith. Dilution: 150/150/1800. Exposure: 320 sec. @ f/8. Development: 3:29. Print #5.
Before talking about the numbers, I should point out that I screwed this print up. I accidentally printed with my Adox digital negative so it had the wrong curve applied for this paper. The print actually isn’t that bad, but the highlights aren’t very good.
Notice how much longer the exposure has to be for the Fomatone paper. It’s almost six minutes! And notice how incredibly short the development time is for lith. At 3:29, it’s almost the same length as a regular silver printing process. We didn’t have time, but I’d like to go back and try this paper again in a higher dilution developer. Maybe 1:1:18 or even (*gasp*) 1:1:36.
When I realized I used the wrong negative I quickly ran another print using the same exposure time and the proper negative, to see if it would fix the highlights. Here’s the result:
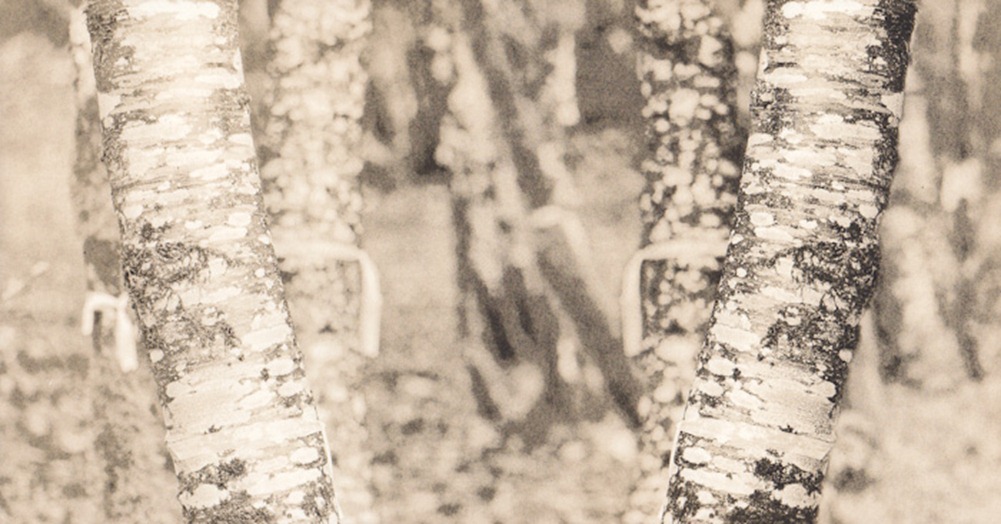
Fomatone VC Warmtone in Arista Lith. Dilution: 150/150/1800. Exposure: 320 sec. @ f/8. Development: 3:29. Print #7.
Much better! It is pure luck that I pulled this print at exactly the same time as the previous one. Of all the versions of this image I printed today I like this one the best.
Image Two
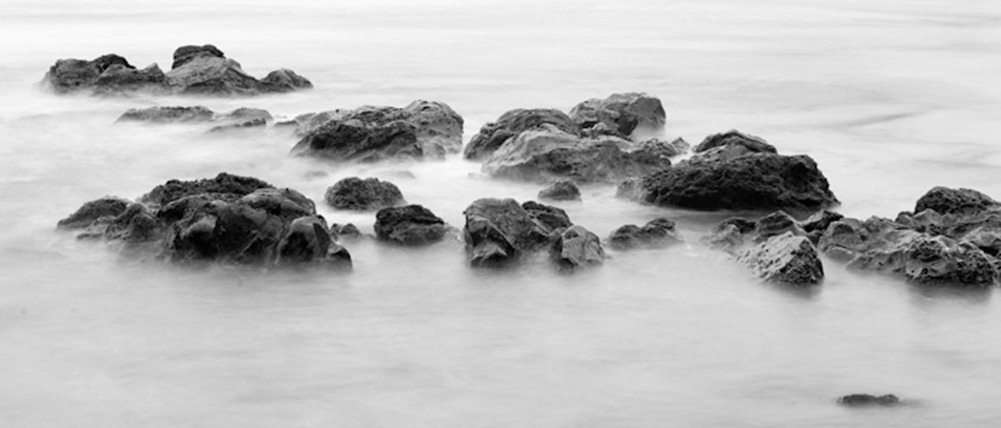
At this point in the day we’d been in the darkroom for about 2.5 hours and my feet were starting to hurt. I couldn’t resist trying one more image though. Here’s the original digital version, processed in Silver Efex Pro 2.0:
And here’s the one lith print I managed to get done:
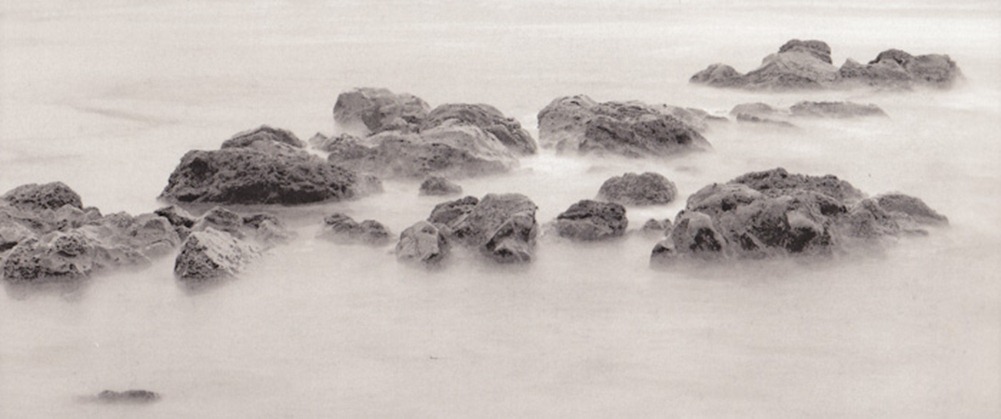
Adox MCC110 in Arista Lith. Dilution: 150/150/1800. Exposure: 200 sec. @ f/8. Development: 13:03. Print #9.
Pretty cool! I think I pulled it a little too soon as I’d like to see the shadows a bit darker. And I hate the little rock in the lower left. But that’s an easy fix: I can just clone it out in Photoshop and re-print the negative. AWESOME.
Summary
It worked. It was a ton of fun. I want to go do it again. Other things I learned:
- The Fomatone develops vastly faster in the Arista lith developer than the Adox paper.
- The Fomatone develops in very, very, yellow/green, in the Arista developer at the dilution we were using.
- The Fomatone takes forever to expose under the enlarger. Next time, f/5.6!
- I love the cream coloured highlights of the Adox paper.
When we were there we also got to see some lith prints by Gina on a new paper from Ilford. They looked amazing, so I have another paper to try!
P.S. If you’re wondering what the “Print #” thing is under each image, that’s the order of that particular print in the developer. Since Tory and I were alternating in the same developer tray, I got all the odd numbered prints. We did that so we could, in theory, track changes in development time and look of the images as each print went through the process, but we didn’t stay long enough to really enough data points for that.
Leave a Reply