My First Salt Prints
Another weekend, another trip to David’s for more alternative process fun. This time our process was salt prints, and as with previous trips he was gracious enough to pre-test the process and get some of the sheets of paper salted before I arrived. All I had to do was coat the paper with the silver emulsion, expose the digital negatives (16 minute exposure), then rinse, tone, fix, and rinse.
Here’s the first print:
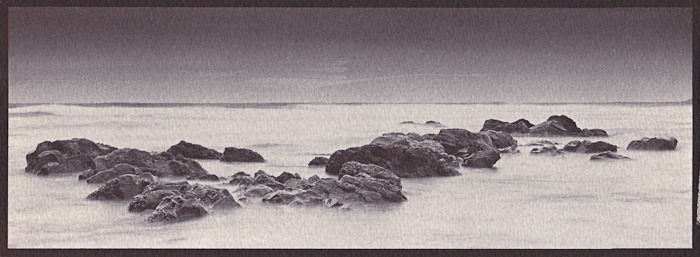
First Beach, WA. Salt print, then gold toned for 4 minutes.
We were a little disappointed at how this one turned out. It looks like either the paper fogged a bit during coating or that the curve was a little off for the digital negative. The highlights look better in the scanned image than they do on paper (they’re a little too dark for my taste).
Here’s the second print I made:
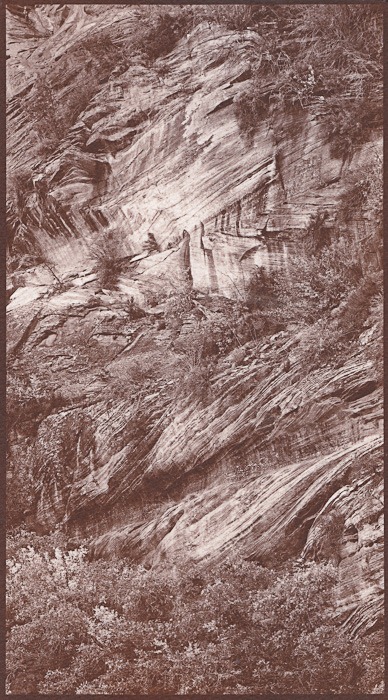
Zion National Park. Salt print, un-toned.
This print is a home run. You can’t tell at all from the scan but it’s amazing in person. Beautiful tonal range, lovely highlights, and cool chocolaty shadows. I am very, very, very happy with how it worked out.
Salt printing is pretty darn cool. It’s not that much different than traditional gelatin silver printing, but the tones… wow.
Leave a Reply